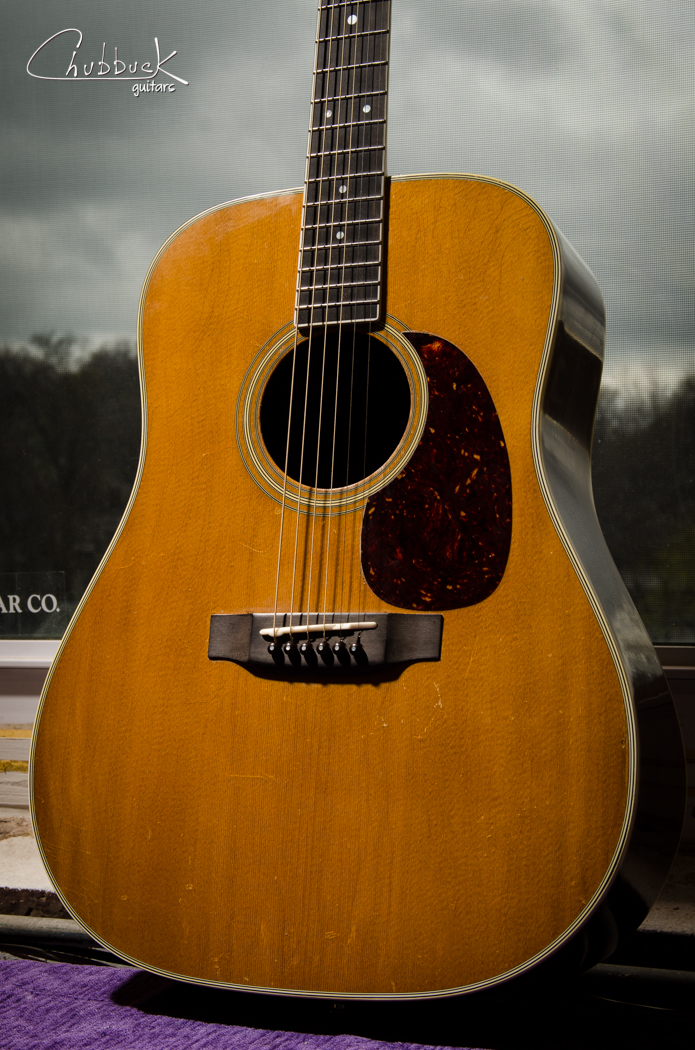
1972 Martin D-35 :: new frets, top crack repair and Highlander pickup installation.
The top crack was on the lower treble bout. The guitar’s side was bumped against a stool and cracked the top just inside the purfling. The crack was glued with hot hide glue and clamped. I was unable to reinforce the crack with an internal cleat as the crack was right against the linings.
Martin started using an adjustable truss rod in 1985, so this guitar had to be “compression fretted”. This is where you use fretwire with various tang sizes to control the bow of the neck. This guitar is tuned standard, but down a whole step (DGCFAD) with light gauge strings. Usually I can get away with sanding the board flat and then controlling the relief with the frets. I found this combination of light strings and lower tuning did not have enough tension to pull the neck into a proper amount of relief though. So I ended up sanding relief into the fingerboard itself - similar to what is done on classical guitars.
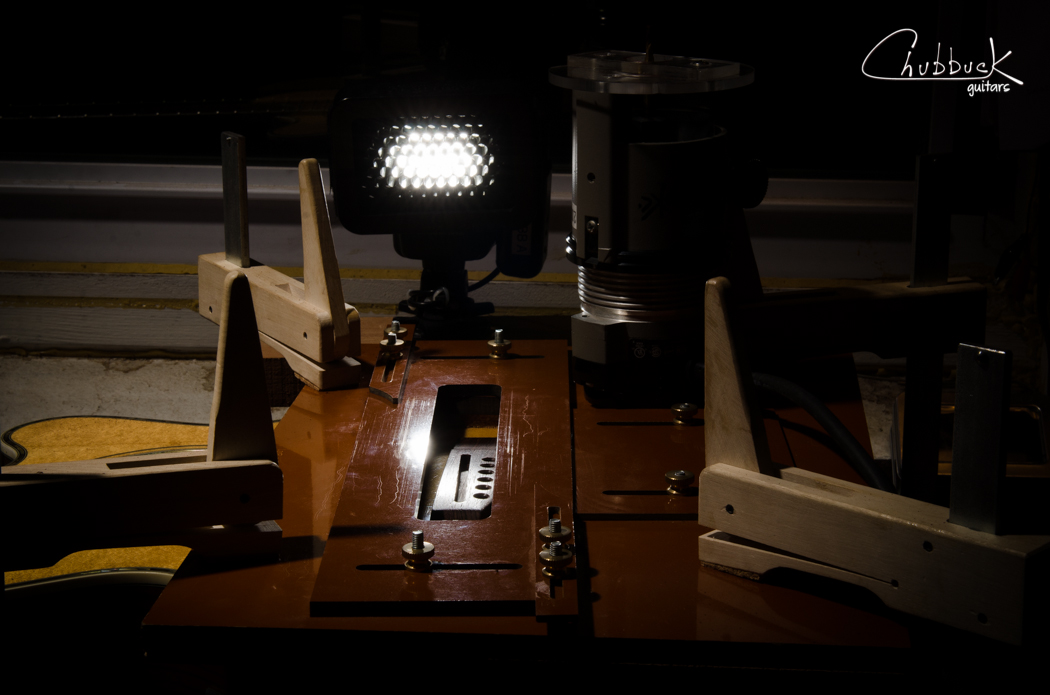
This player has gone through quite a few pickup systems in his tonal quest. It started off with a Fishman Blender undersaddle / internal mic, then to a LR Baggs Anthem undersaddle / bridgeplate-mounted internal mic and now to a Highlander iP-1 undersaddle. The Anthem soundhole preamp controls, undersaddle pickup, internal mic and endpin jack where first removed. Then the tail block was thread-tapped for Highlander’s 9/16”-12 threaded preamp end jack. Highlander’s undersaddle pickup is a coaxial cable that needs to be installed with a 1/16” diameter ball-end mill. The bridge’s saddle slot floor is routed with the mill so that the pickup protrudes 0.010” proud when installed.
I hope this is the pickup that this player is looking for this guitar. It goes to show how difficult it can be matching up the right pickup with the right guitar to get the sound you want. This search is complicated by what external gear you are plugging into. Amps, preamps, mixers, PA’s all sound different and often you have to rely on the person running sound. I always recommend that players plug into some kind of off-board preamp if they are serious about sculpting their plugged-in tone. D-TAR makes really nice and affordable preamps (Solstice & Equinox). You are asking too much of your guitar and pickup alone by just plugging in direct to a PA and expecting an ideal tone. Way too many variables are at play. With your own quality preamp, at the very least you can dial in your sound for the monitors. Front of house sound is out of your control most of the time. How many of you electric players plug into your amp without tweaking the tone stack? Something to think about when you decide to amplify your acoustic.