
1968 Vox Grand Prix with onboard effects
Now here is something that doesn’t come across your bench very often, a 1968 Vox Grand Prix! The guitar’s owner brought it in because it would not pass a signal anymore. Normally this isn’t too difficult to troubleshoot. Just work through the circuit and find the band connection or component. This guitar is a little bit more complicated - it has four onboard effects and even includes an E reference tone tuner. The four effects are a treble booster, distortion, repeater (actually tremolo is more accurate) and a hand operated wah. She’s definitively a funky blast from the past. This will be an interesting one …

1968 Vox Grand Prix loaded with four onboard effects plus a “tuner”

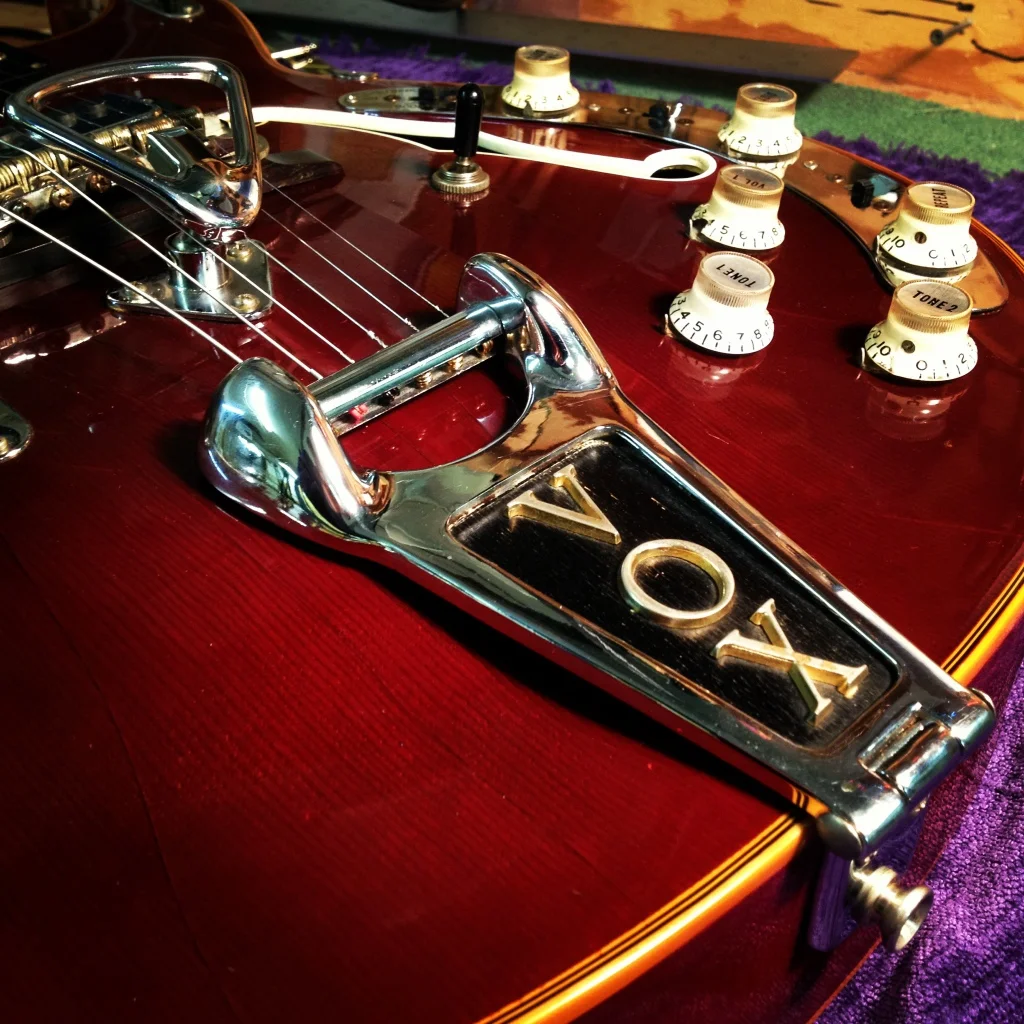
Grand Prix controls – treble booster, distortion, repeater (tremolo), master volume, independent tones and 3-way pickup selector.
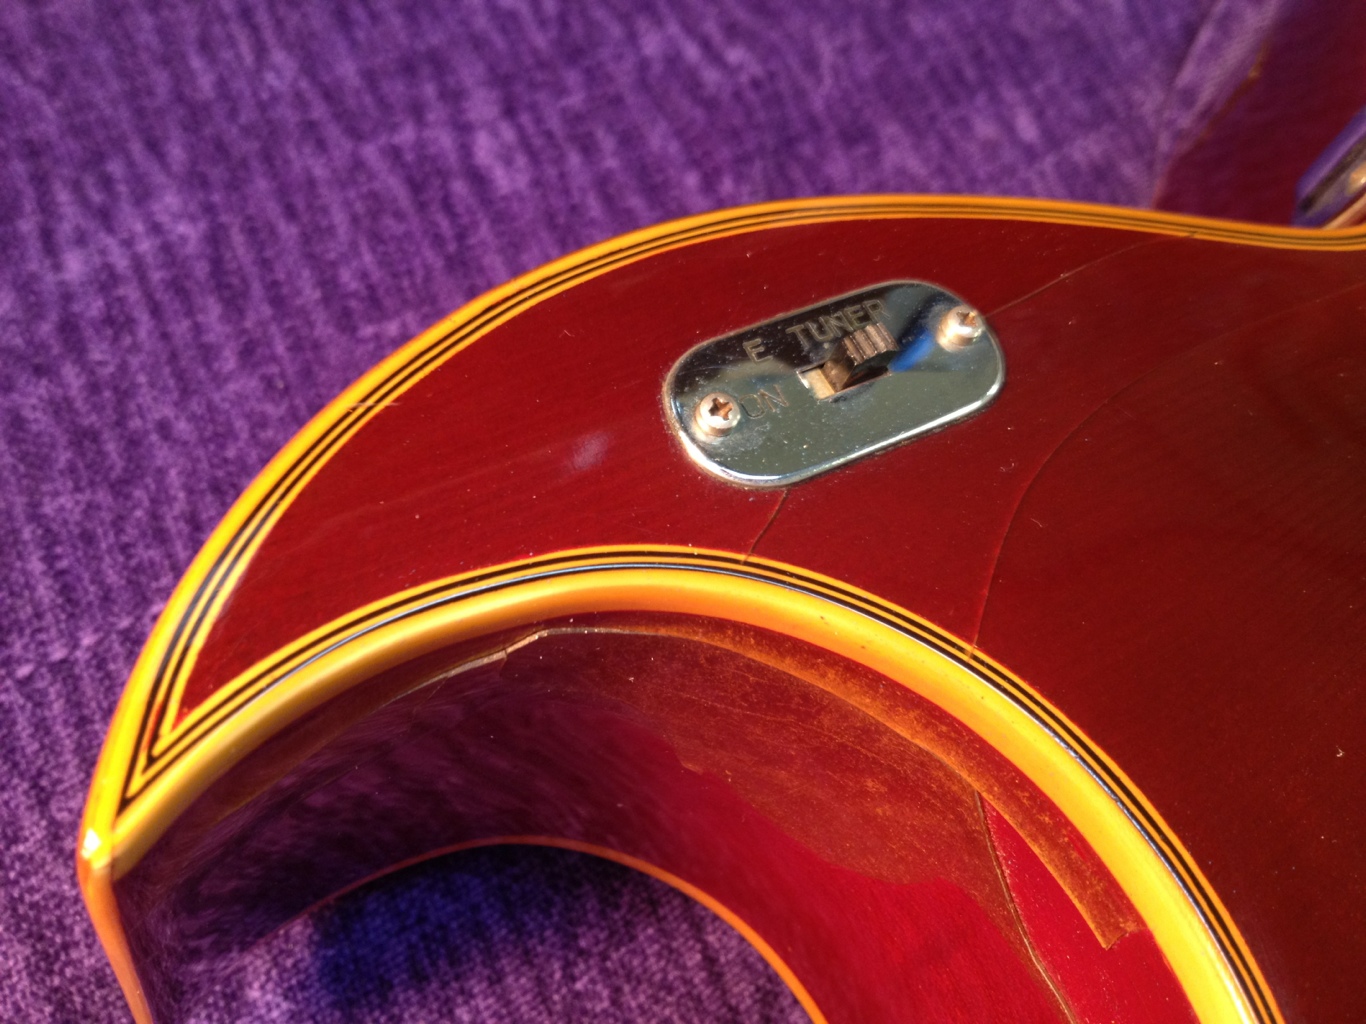
“E tuner” reference pitch created by an oscillator. Note the heavy finish checking / delamination in the cutaway.
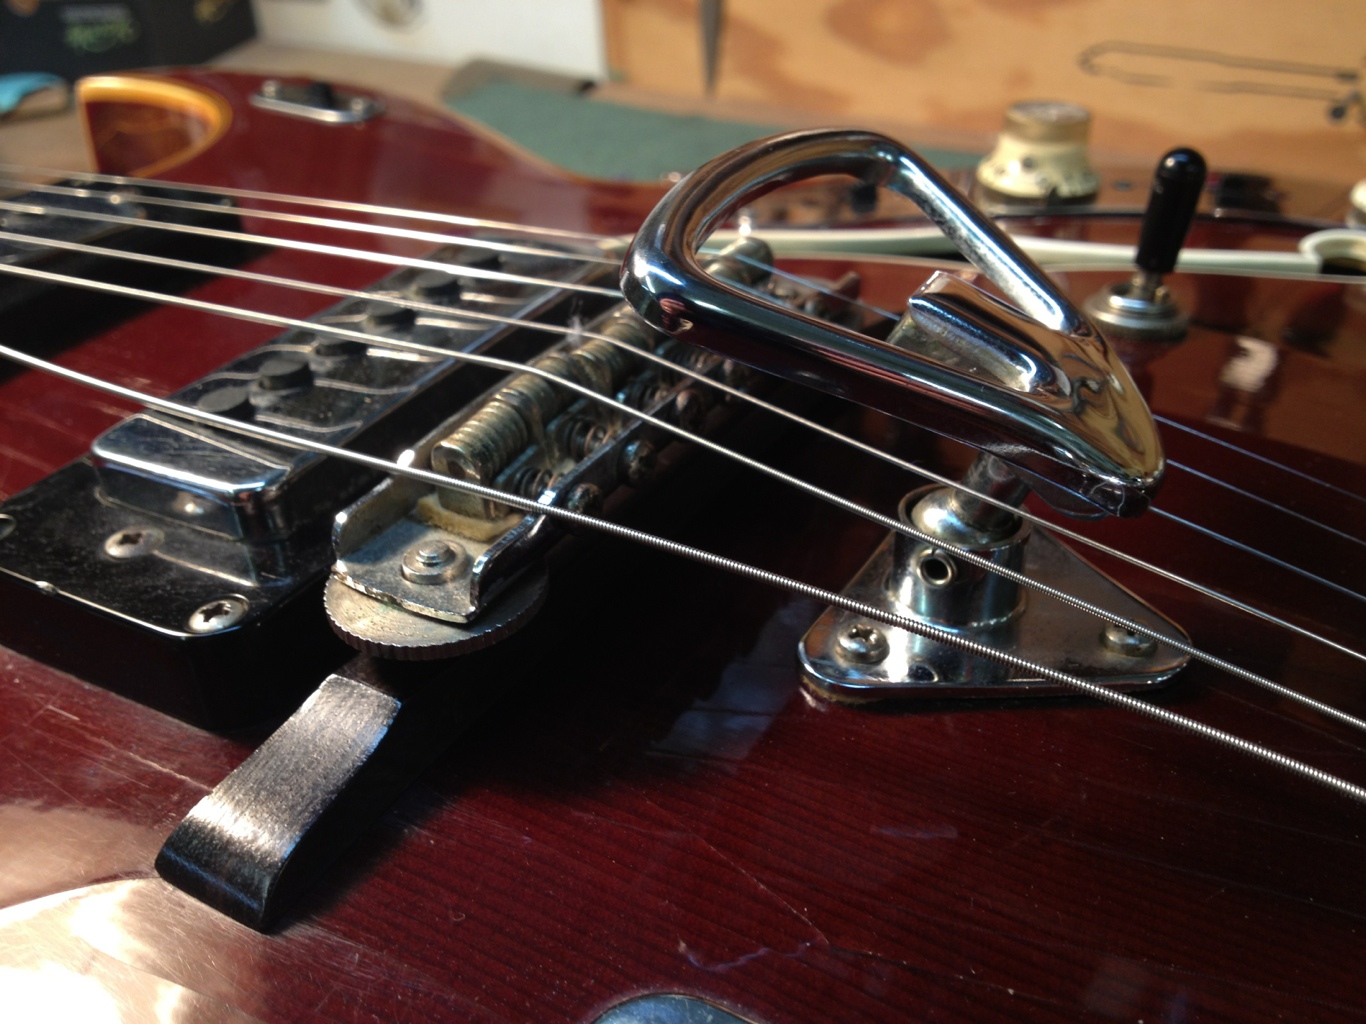
Hand operated wah behind the bridge.
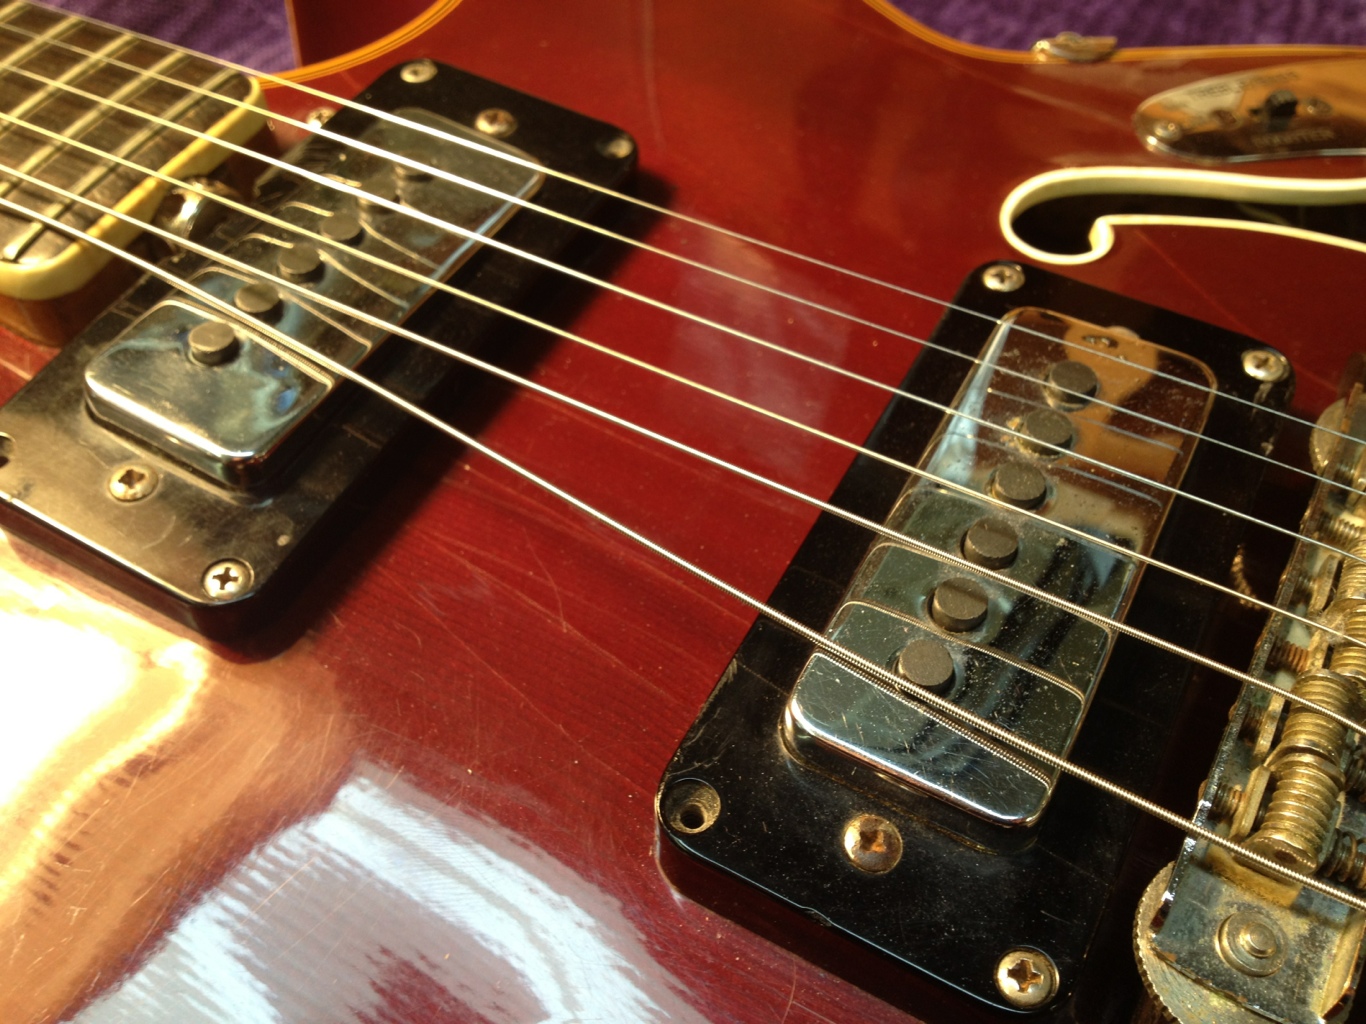
Single coil pickups.
The neck is a bolt on with a spoke nut style truss rod. These are always handy as some bolt on necks require removal in order to adjust the relief. The headstock has a space-age look to it.
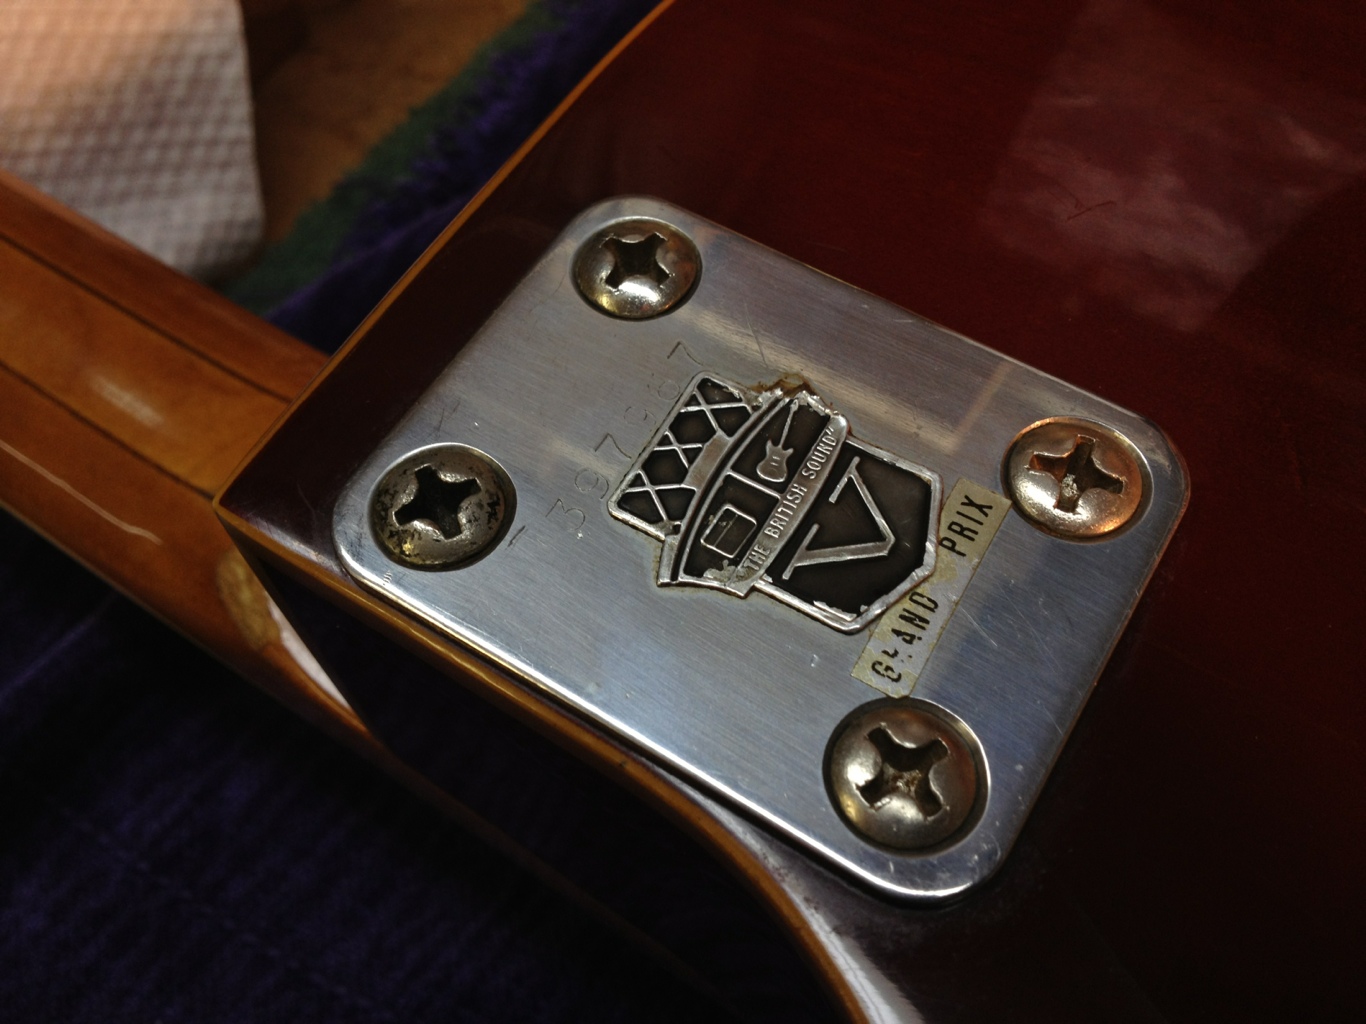
Bolt on neck. “The Brittish sound”

Spoke-nut truss rod adjustment.

Vox headstock, with a “zero” fret.

Rear of the headstock. “Made in Italy by Vox”
So first things first, let’s see what’s going on inside the body. Most hollowbody guitars do not have an access cover on the back of the guitar in which to work on the electronics. Guitars like Gibson hollowbodies have their electronics installed through the pickup or f-holes. The customer pulled the guitar out of the case and then flipped it over. There is a padded cover fastened to the back. I thought it maybe a similar function to what some mandolins use to help separate the back's vibrations from the player’s body.
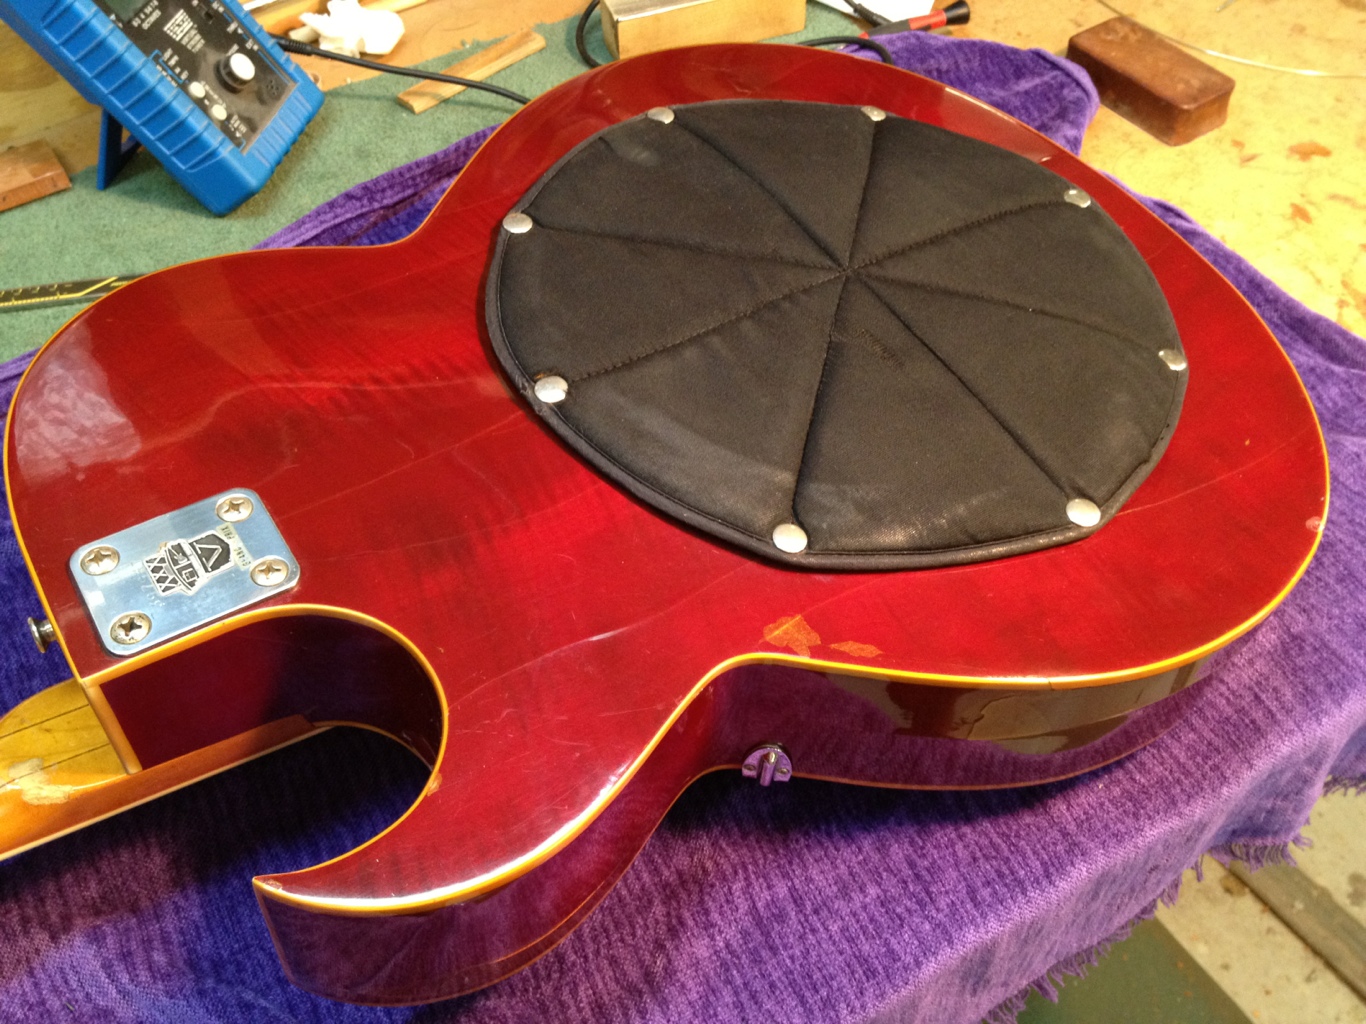
Rear access control cover.
But then the customer pulls off the cover and BAM! There’s a nice big access hole in the back of the guitar. This will make diagnosing this circuit much, much easier. Peeking into the opening revealed a truly amazing mess of wires and components. I removed the silver battery tray to get a better look.

A glimpse into the mayhem inside the guitar with the cover removed.
Once I got my bearings, I discovered that there were a couple cracked circuit boards and that the hand wah mechanism was disconnected.

Broken “E tuner” oscillator circuit board.
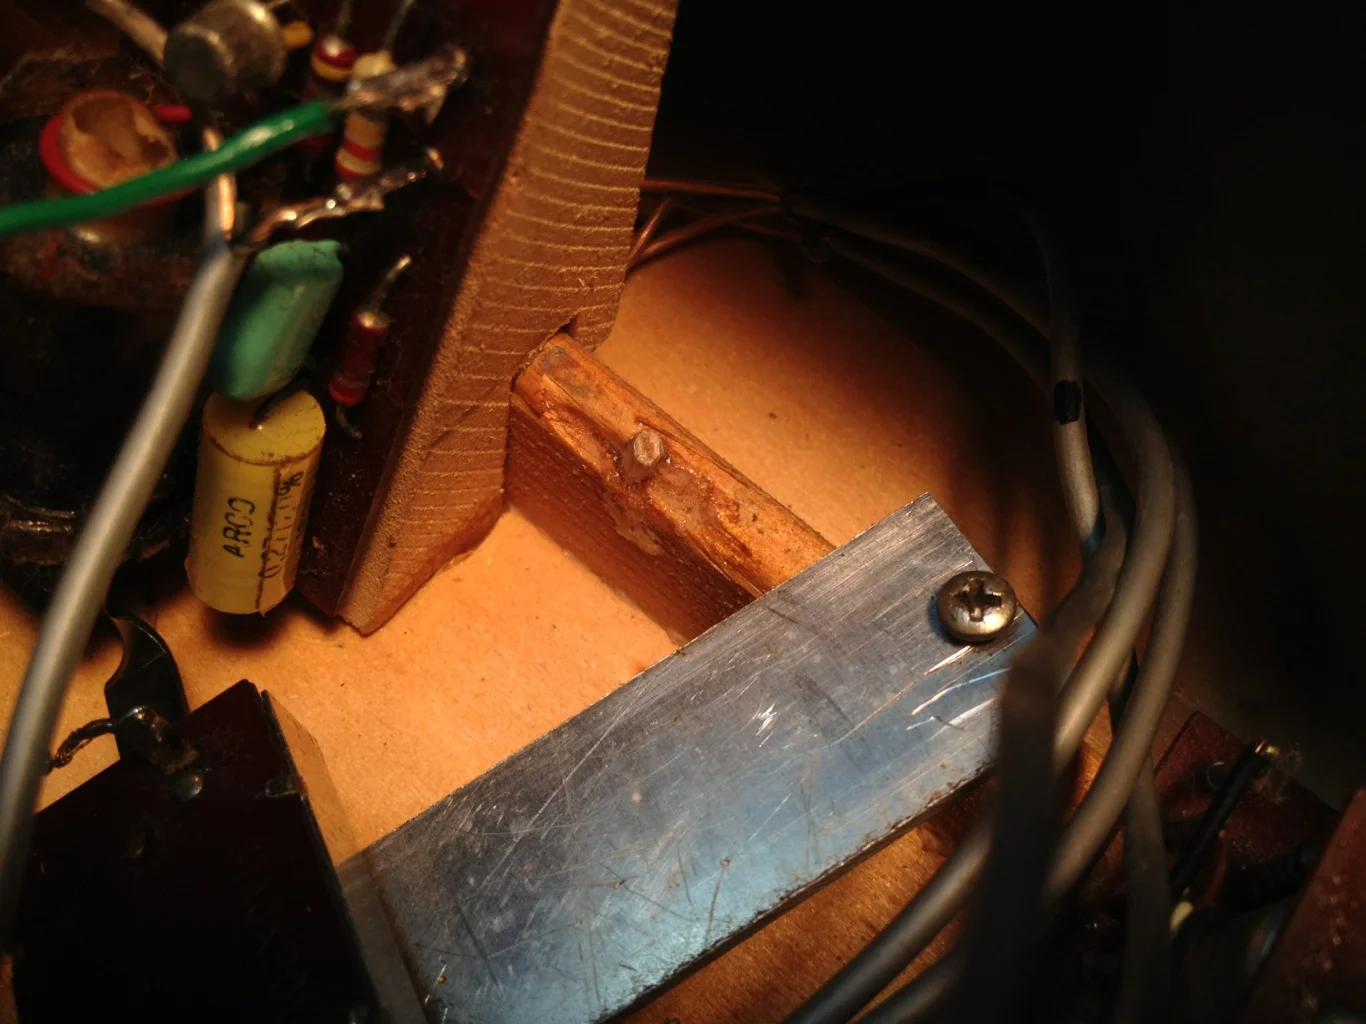
The sliding wah potentiometer (pot) is mounted to an aluminum bar that is then supposed to be fastened to the top bracing. The braces had split and stripped out, leaving the wah assembly to flop around inside the guitar wreaking havoc. The linkage to the hand lever was also disconnected.

Wah linkage disconnected from the slider pot. Note the crack in the plywood top.

Wah slider pot assembly mounted to the split and stripped tone bars.
The photo below is a close up the main circuit module. It is a multi-tiered array of circuit boards that does not lend itself well to servicing. In order to replace one bad component, you need to desolder all the connections on the top board before you can remove it from the circuit. Another consideration is that all of the leads are cut to length after soldering. These shortened leads make the board even more difficult to reinstall Plus you can see where the mounting screws have cracked the board and most likely broke traces on the back side.

Circuit boards sandwiched upon circuit boards in the main effects module.
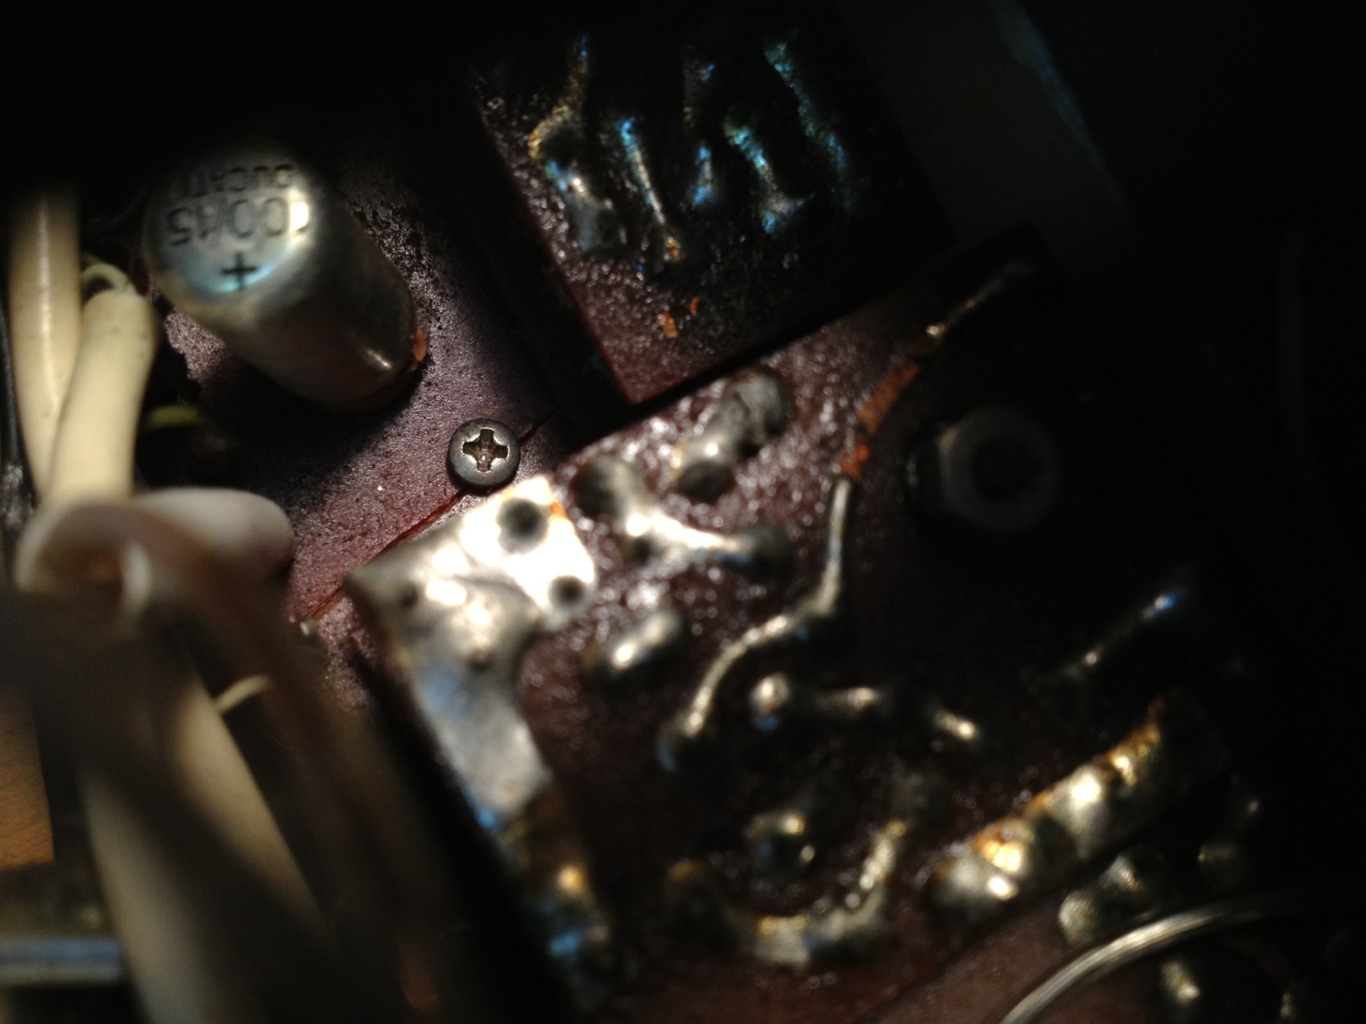
Main circuit board module cracked at mounting screw.
After going over the guitar, I decided to give my good friend and amp builder Bob Dettorre of DST Engineering a call. He is actually the one who referred this project to me since he does not work on guitars. He stopped taking on minor guitar repairs since he has tight quarters in his shop (easy to ding a guitar). Plus he is busy as hell building and repairing amps of his own. As eager as I was to diagnose this circuit, I did not have the time to go through it. Amps and effects are not my specialty and I did not want to bill out the customer for my inexperienced explorations. After talking with Bob, he told me to bring it on by. So I grabbed the guitar, my purple drop cloth (to protect the guitar on his bench) and some schematics that the customer gave me and took a drive over to Beverly.

The infamous Bob Dettorre of DST Engineering
It’s always great to see Bob. He is the nicest guy you are ever going to meet and the man knows his electrons. Bob spends his days as an electrical engineer designing transformers. He is an amazing amp repairman who does not push work on you. He will let you spend as much as you want, but YOU have to tell him what you want. No wonder he is "THE" amp guy to go to on Boston's north shore.
After a couple hours and a few “interruptions” from his customers, he had it passing a signal through all of the effects again. It only took him a few minutes to get the bypass signal to work – the wah bypass switch had a slew of broken wires. Once reconnected, the guitar was finally audible.
Now it was time to check each effect. His methodology was to take each effect one at a time. The repeater was the only effect that worked. First he tackled the broken main module board by solering heavy buss wire on the back side of the circuit board. This reconnected the broken traces and also added rigidity to fragile module. This was the fix to the distortion circuit. Now the treble booster was filtering the signal, but was not “boosting” it. Bob knew this was a voltage issue as power is required to give the circuit gain (increase volume). He found another broken lead and we were three for four.
Now the wah circuit was the tricky one. Bob did find a leaky electrolytic cap (he measured voltage across it) that he replaced. It was a little better, but not completely. He then focused on the slider pot and disassembled it. What he found was that the carbon traces in the pot were extremely worn and beyond repair. He cleaned it up as best he could and put it back together. The wah works, but it is more of a static filter than a traditional wah.
Now that the guitar’s electronic problems were resolved as best they could, it’s back to my shop to finish it up.
Thank you Bob. You. Are. The. Man.
[note: sorry about the lack of photos from over at Bob's -you don't want to bother a man who's doing you a favor working on something that wasn't designed to be worked on]
The guitar is back on my bench. First thing to address is that loose wah assembly. The tone bar holes are doweled and the split braces glued.
Did I mention how awesome this huge rear access hole is? This is a repairman’s dream.
Tone bars doweled to better secure the wah slide pot mount.

Split tone bar glued and clamped. Ready for redrilling to mount the wah slide pot mount.
I drilled and reinstalled the wah assembly plate to the tone bars. The spring then can be attached from the plate's anchor point to the wah lever, which is also attached to the slider pot.

Wah assembly resecured and linkage reattached.
Now time to try and clean up this mess. There are wires leading everywhere, but I managed to bundle and zip tie wires in order to keep them away from the moving wah mechanism. The battery tray is reinstalled and the cover is ready to be snapped on.

Circuit troubleshooted and secured. Wires are zip tied to keep the wah mechanism clear.
I know what your thinking.
“What about the tuner?”
Well, we decided that it was not worth repairing at this time. Especially when you have real tuners you can use. These old analog oscillator circuits are very inaccurate, so that E is not going to be of much use other than relatively tuning the guitar to a random pitch.
The guitar is in dire need of new frets and a new 3-way pickup selector switch, but that was beyond the customer’s budget at the time. The zero fret had to be replaced though as the open strings were buzzing horribly, so I replaced it with a high-crown fret. I also recommended that we install a traditional pot for the wah circuit down the road, something you can use for that “parked wah” sound. Maybe even a push-pull pot so you can switch between stock and the new modification. Who knows, possibly we can track down another slider pot in good condition.
Overall this was a fun project. It is just insane to see how much work went into this guitar back in the 60’s. The guitar is certainly a novelty as you can buy much better sounding effects pedals, but then you need a pedal board, right? The customer was extremely pleased that we were able to fix the guitar within budget. I can see this guitar being a whole lot of fun in the studio.

All strung up and ready to get freaky.