Viewing entries tagged
peghead

Peghead & body damage :: 2002 Tacoma Thunderchief CB28C [6.7 lbs]

Comment

Peghead & body damage :: 2002 Tacoma Thunderchief CB28C [6.7 lbs]

This guy was finally picked up after 2 years (!).  I reglued the bridge, repaired a split in the headstock and glued up a loose tailblock-to-top seam.  There was also a loose top brace and the undersaddle pickup was humming so it needed to be replaced.

Quick video originally posted on my snapchat (@chubbuckguitars) and shared to IG:


Comment

Peghead ears :: Chubbuck Mousa 003

Comment

Peghead ears :: Chubbuck Mousa 003

Gluing up the peghead ears on last week's Mousa 003 neck build. I like to do full ears as opposed to just adding corners. The difference is that you can't see the ear joint from the side on full ears where just gluing the extra corners looks sloppy and lazy. The extra effort is a pain but totally worth it.

Comment

2003 Gibson Les Paul Double Cut Faded :: bad kitty

Comment

2003 Gibson Les Paul Double Cut Faded :: bad kitty

2003 Gibson Les Paul Double Cut Faded :: bad kitty

Yet another broken Gibson headstock on the bench.  This one was caused by a player's cat knocking the guitar over.  Worse is that he was there to witness the whole thing happen.  Bad kitty.  As far as Gibson head breaks go, these ones are usually straight forward as it is still attached with no missing pieces (but it has been broken for about a year so the pieces might not line up perfectly - we'll see). 

For an example of a nasty break, see the '65 Epiphone Olympic.

Comment

Comment

Neck prep :: using a drum sander to thickness pegheads

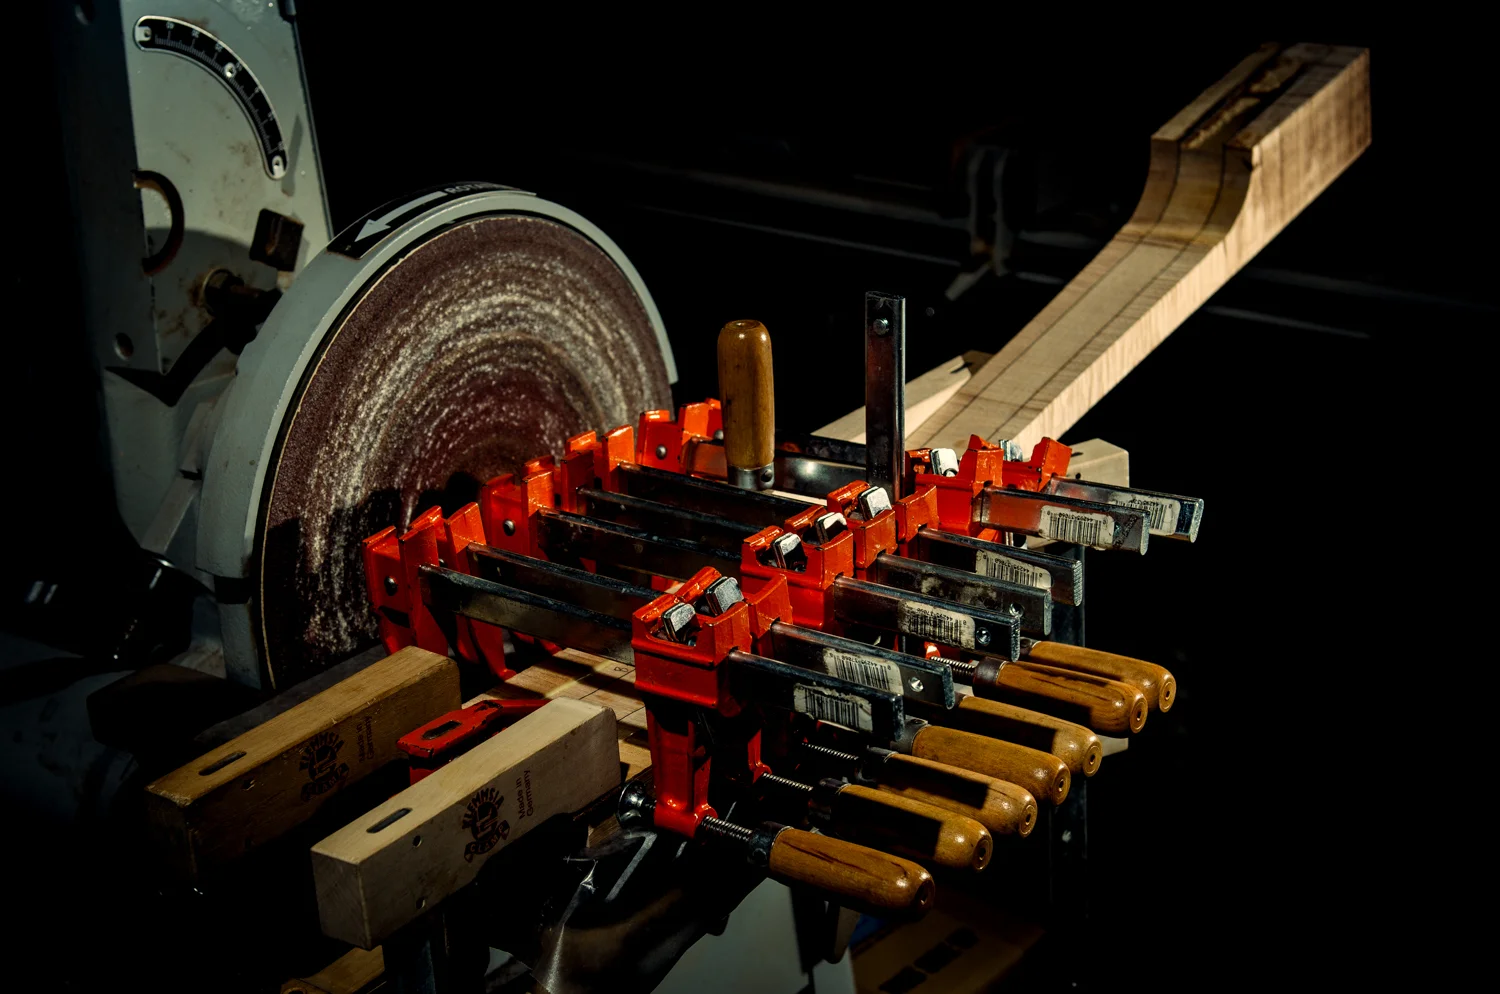
Neck prep :: using a drum sander to thickness pegheads.

Here I'm thicknessing the rear of the headstocks for Rogue 005 and Kalliope 001 before I laminate them.  When I worked at Santa Cruz, they had a shop-made drum sander that works awesome for quickly thicknessing pegheads.  I have always thought that I was going to have to build something similar for myself but have gotten around this task by using a Wagner Safe-T-Planer in my drill press.  This time around I decided to see if I could use my new-ish drum sander.  I was extremely pleased to find that the in-feed roller on the drum sander is easily removable.  Much better results with this method in less time, but super dusty.  I used a fan to attempt to direct some of the dust into the hood but I'll need to rig up something better next time. 

Note: the Safe-T-Planer method works fairly well, but it requires more time to clean up the transition from head to neck. 
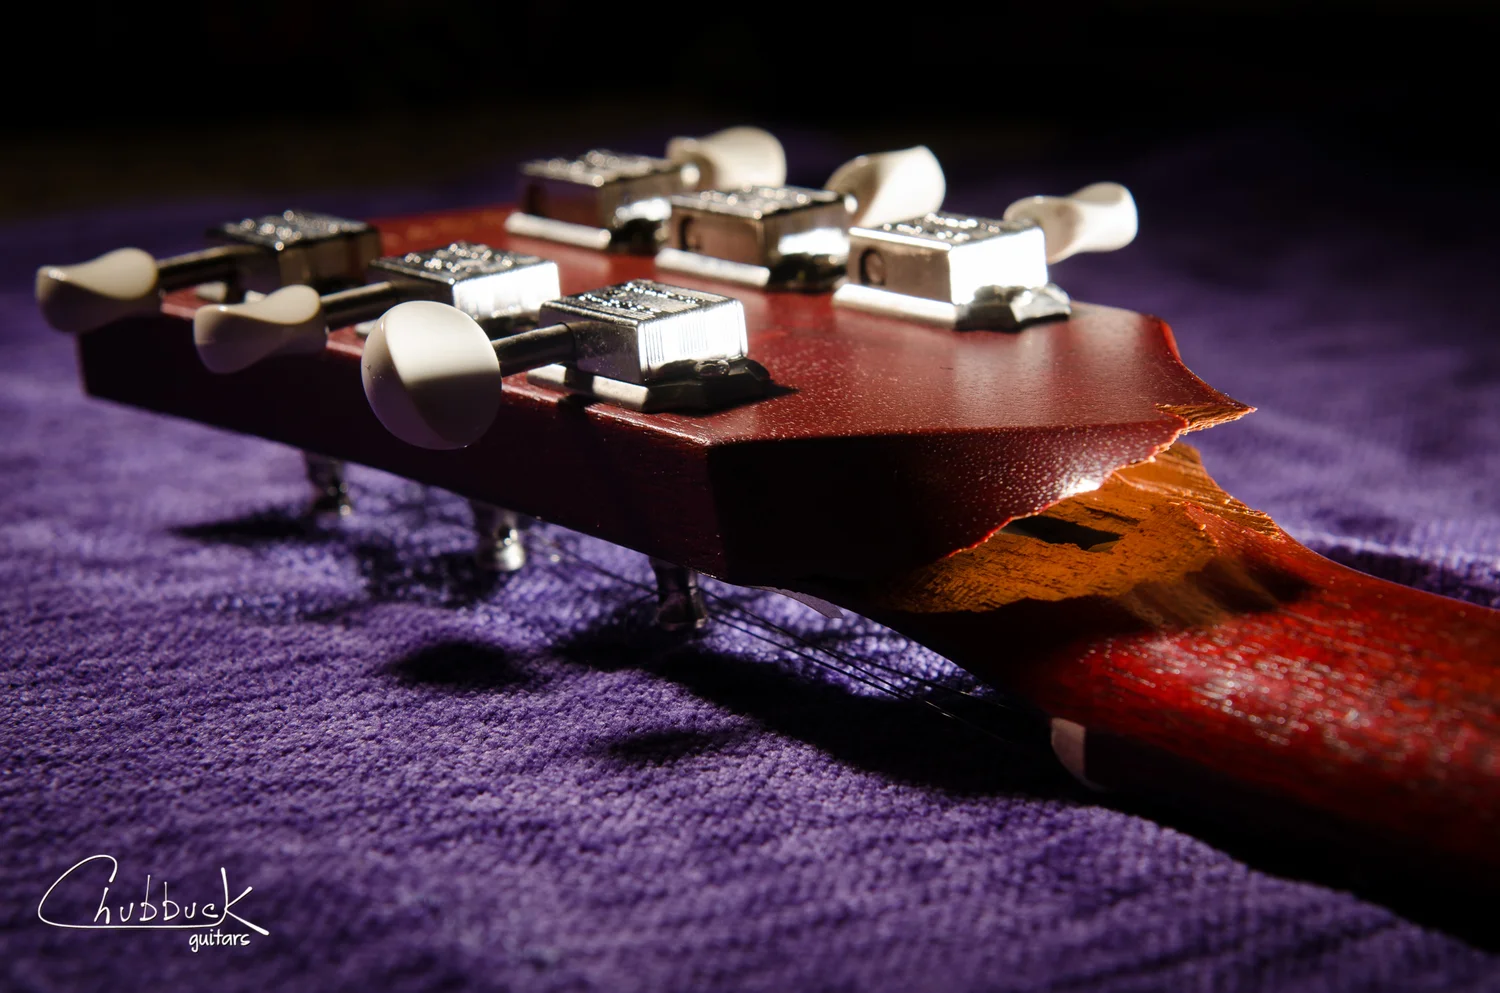
Comment